
How to collect request-form submissions directly into a SharePoint list (no Power Automate)
Quick answer
How do I build a SharePoint request form whose answers land in a list without a Power Automate flow?
Add the free SharePoint Smart Forms web part to a page, build the request questions on the canvas, and point the form at the SharePoint list that should hold the tickets. Smart Forms provisions matching columns and writes each submission as a list item the moment it is submitted — no Power Automate flow, no Forms service in between, and the requester column is a real person column rather than typed-out text.
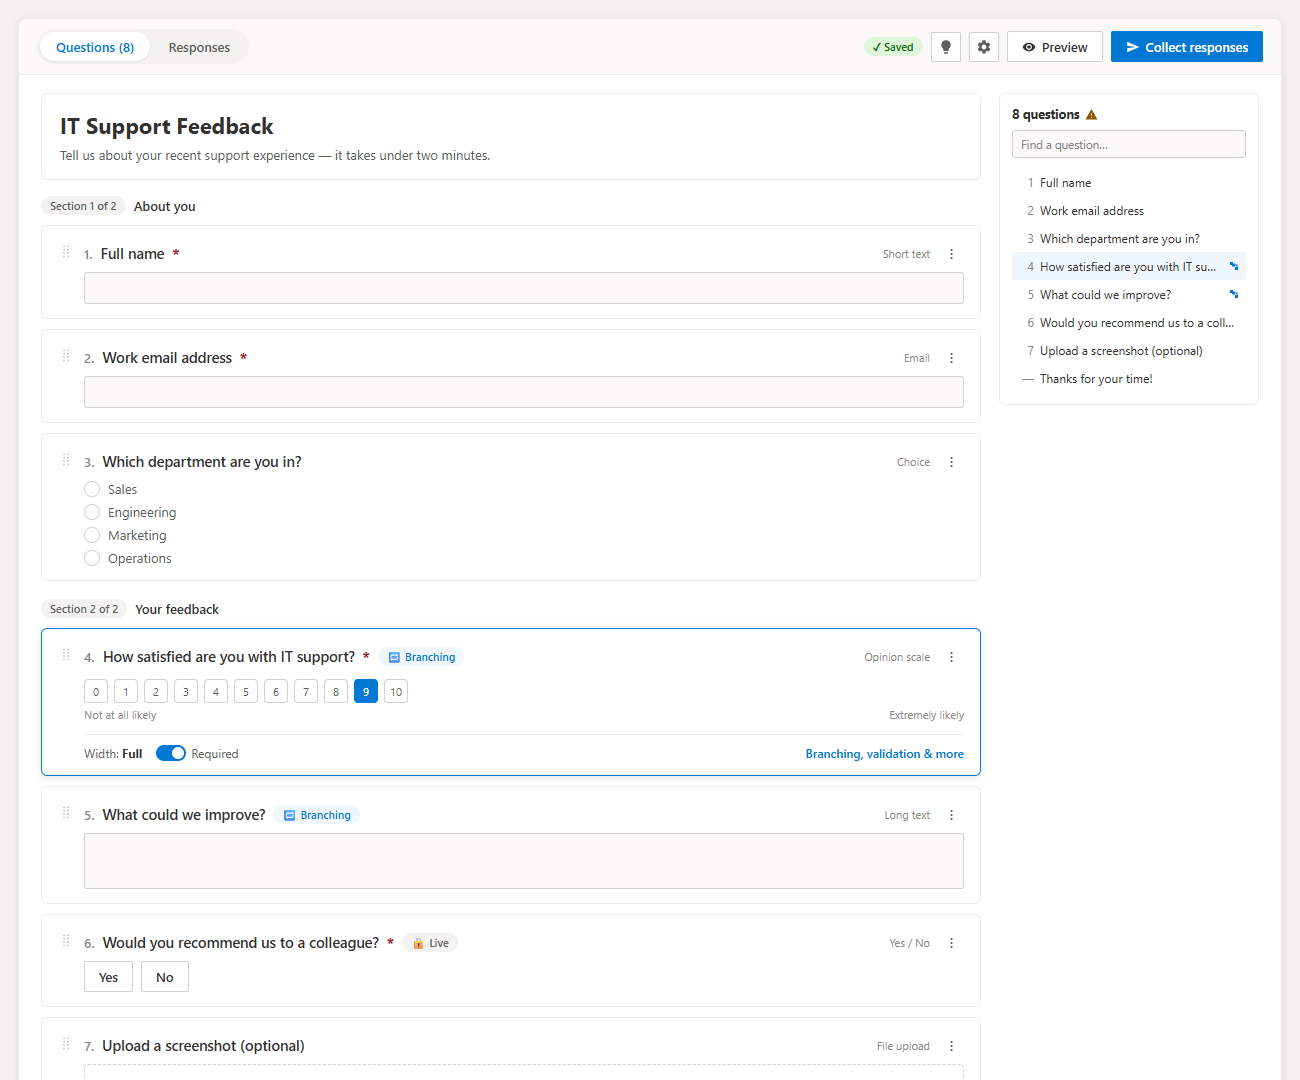
The scenario
Your service desk takes requests by email. You want a single intake form on the IT hub site that produces one tidy list item per request — with the requester resolved from Entra ID, a category, a priority, an optional attachment, and follow-up questions that only appear when they are relevant.
Why it matters
The usual pattern — Microsoft Forms plus a Power Automate flow — creates a second artifact to build, permission, monitor and hand over. It also degrades the data: people arrive as strings, categories as free text, and totals get recalculated downstream. Writing directly into the list keeps the data typed and removes the flow from your support surface entirely.
Step-by-step walkthrough
- 1
Upload the Smart Forms .sppkg to the tenant App Catalog, then add the web part to a page on the IT hub site.
- 2
Start from the blank canvas or pick a starting point from the template gallery.
- 3
Add the questions: a person picker for the requester, a choice for category, an opinion scale or choice for priority, long text for the description, and a file upload for screenshots.
- 4
Add branching so hardware questions only appear when the category is Hardware — the rules read as plain-English AND/OR sentences.
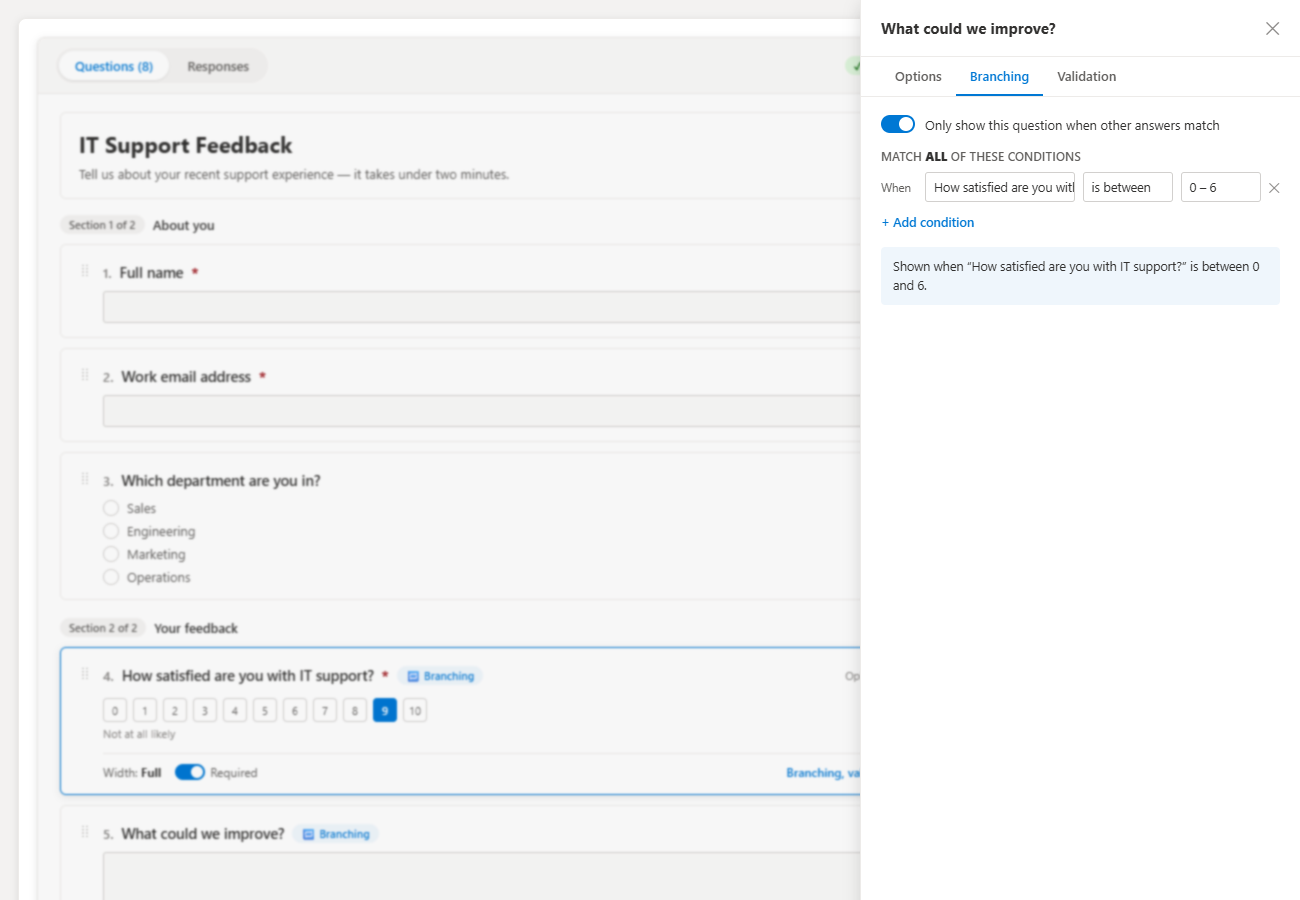
Step 4 — branching rules read as plain-English conditions. - 5
Open Collect responses, choose the target SharePoint list, and let Smart Forms provision the matching columns.
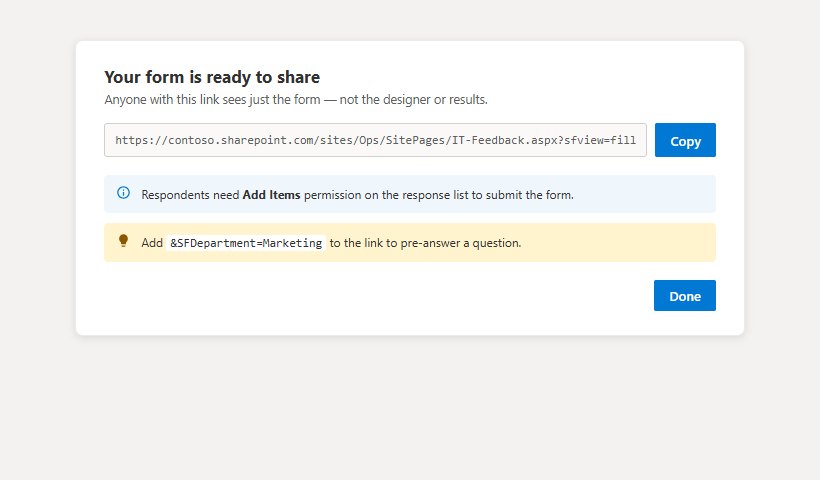
Step 5 — pick the SharePoint list that will hold the responses. - 6
Share the form link (or leave the web part on the page) and watch items appear in the list as they are submitted.
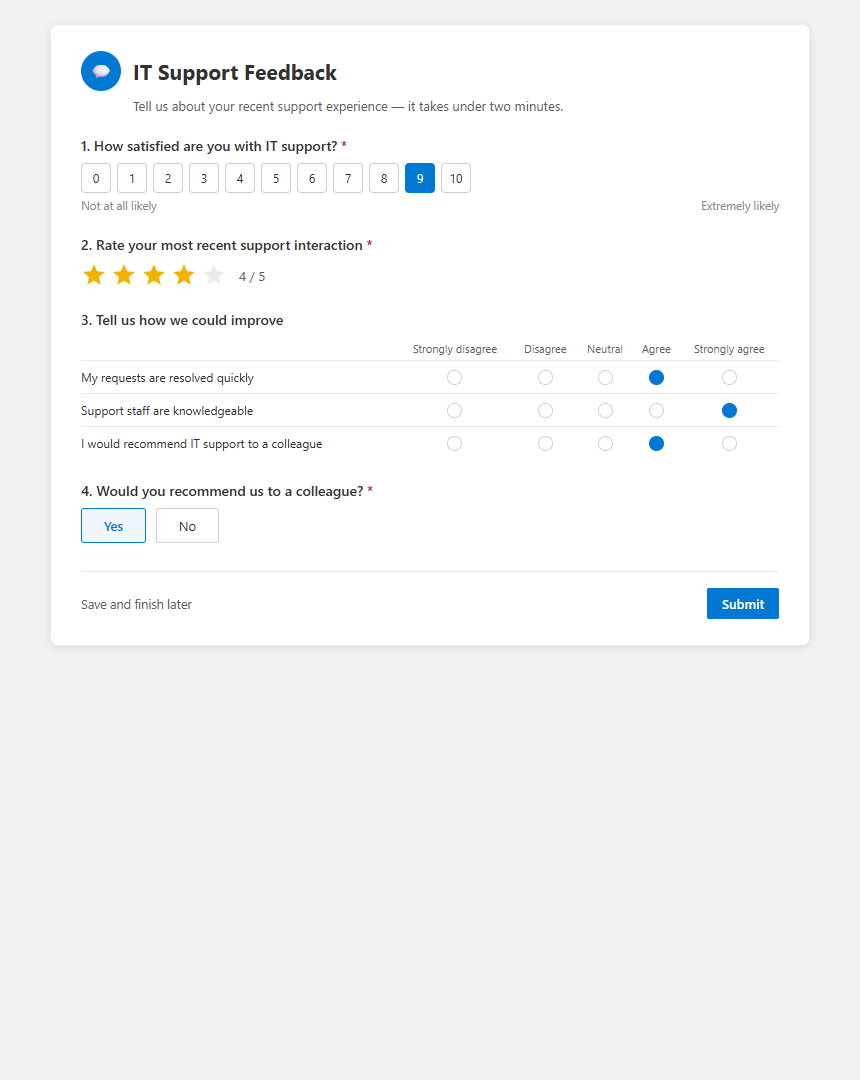
Step 6 — what the requester sees, themed to your site. - 7
Use the results dashboard to track volume by category, and export CSV when someone wants it in Excel.
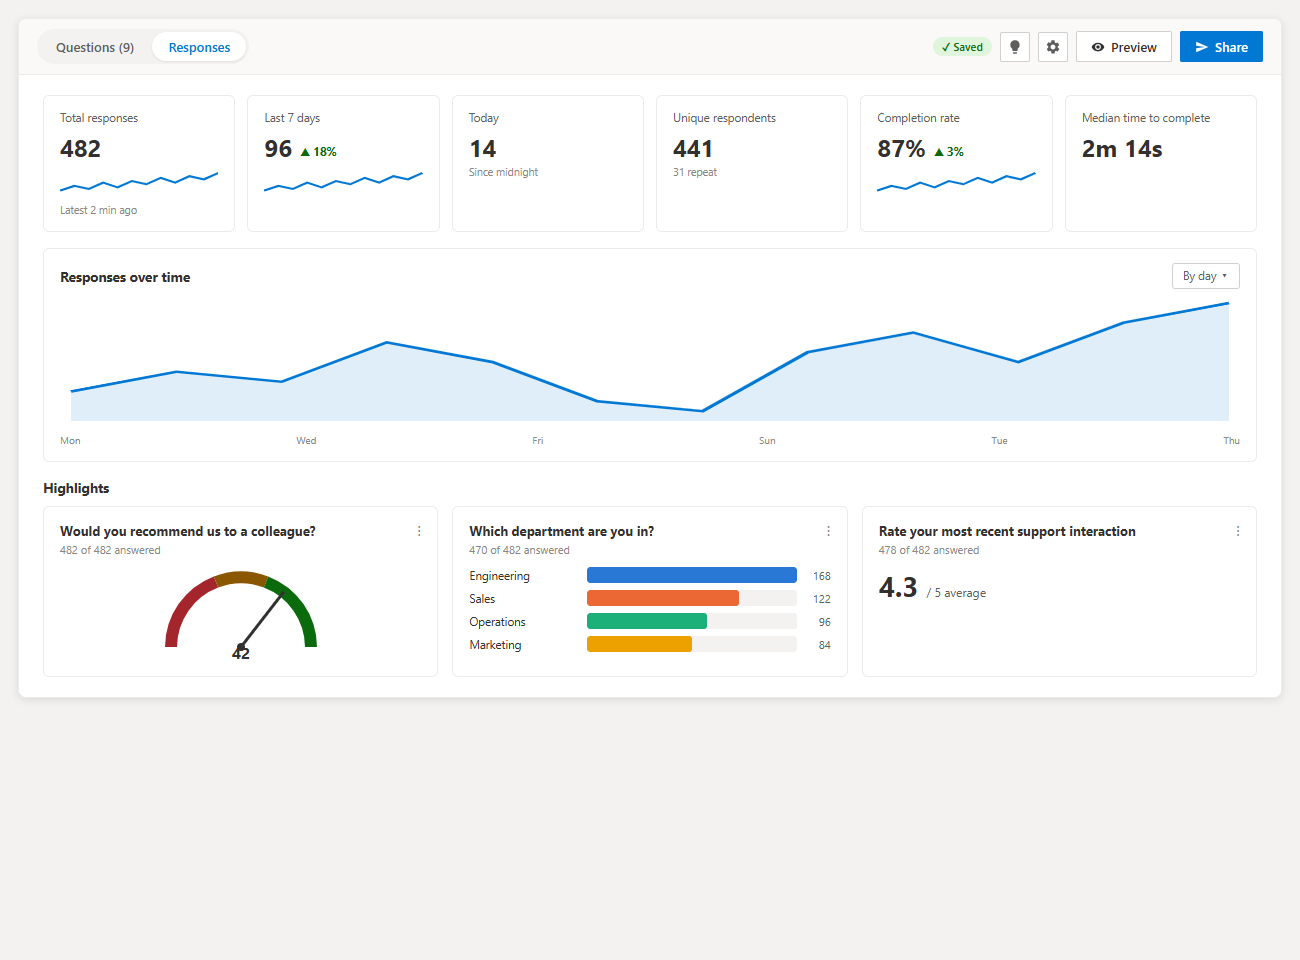
Step 7 — the built-in results dashboard.
Frequently asked questions
- Does Smart Forms need Power Automate at all?
- No. It writes the list item itself using the signed-in user's SharePoint permissions. You can still add a flow on item creation if you want notifications or approvals afterward.
- Can the requester be a real person column?
- Yes. The person picker resolves against Entra ID and lands in the list as a person column, so you can filter, group and @mention on it.
- Can external users submit requests?
- No. Smart Forms runs inside SharePoint as the signed-in user, so respondents must be able to sign in to the site. For anonymous or external intake, Microsoft Forms is still the right tool.