
How to run a safety inspection checklist in SharePoint with a signature and photo upload
Quick answer
How do I build a mobile-friendly safety inspection checklist whose results are stored in SharePoint?
Use the free SharePoint Smart Forms web part. Start from the Safety Inspection template, set the checklist items as yes/no or rating questions, add file upload for photos and a signature field for the inspector, then point the form at a SharePoint list. Every completed inspection becomes one list item with the photos attached and the signature captured — governed by your existing SharePoint permissions and retention.
The scenario
Facilities inspects twelve sites each month. Today it is a Word template emailed back and filed by hand. You want inspectors to complete the checklist on a phone, attach photos of anything failing, sign it off, and have every inspection land in one SharePoint list you can report on.
Why it matters
Inspection records are compliance records: they need to be complete, timestamped, attributable and retained. A form that writes straight into SharePoint inherits the site's permissions, retention labels and eDiscovery reach — a Word document in an inbox inherits none of that, and the reporting has to be done by hand.
Step-by-step walkthrough
- 1
Add the Smart Forms web part to the facilities site and open the template gallery.
- 2
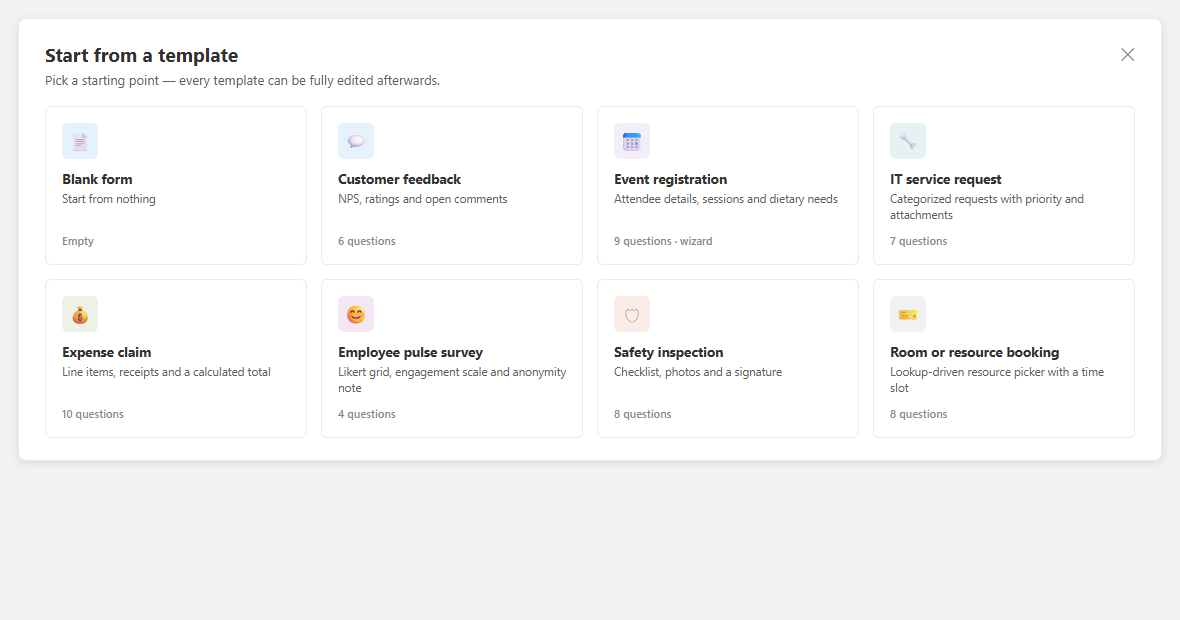
Start from the Safety Inspection template and adjust the checklist items for your sites.
Step 2 — start from the Safety Inspection template. - 3
Set each check as yes/no or a rating, and mark the critical ones required so nothing is skipped.
- 4
Add a file upload question for photographs and a signature question for the inspector sign-off.
- 5
Add branching so a failed check reveals a follow-up 'describe the issue' question.
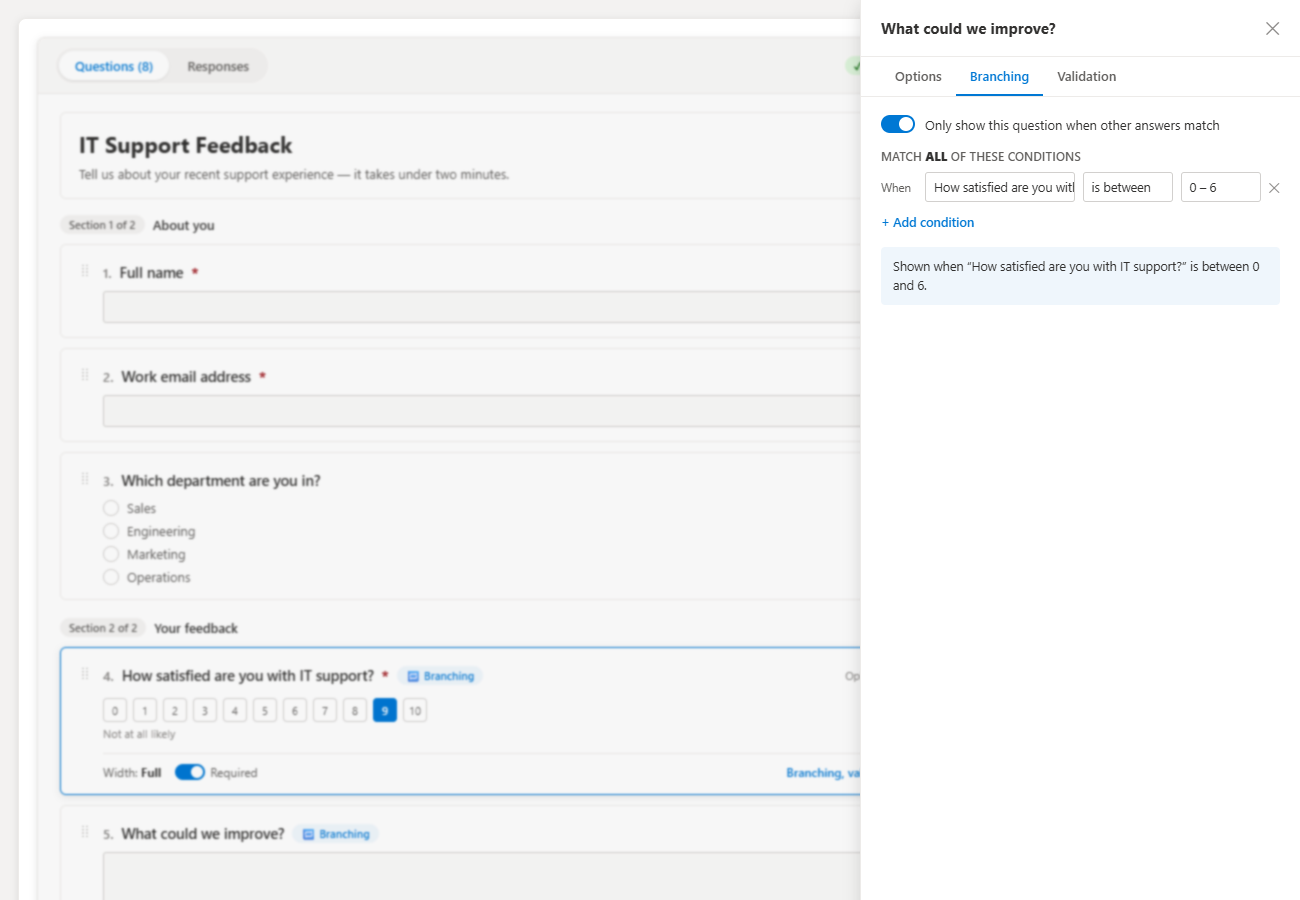
Step 5 — a failed check reveals the follow-up question. - 6
Choose the wizard layout so the checklist is one section per area, with a progress bar on mobile.
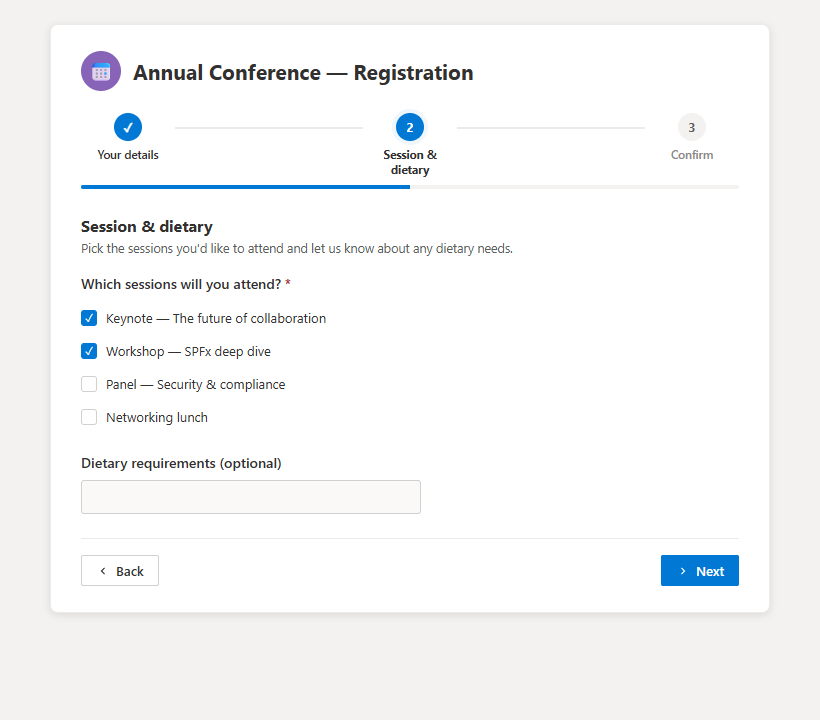
Step 6 — the wizard layout, one section per area. - 7
Point Collect responses at the Inspections list, then share the link with the inspection team.
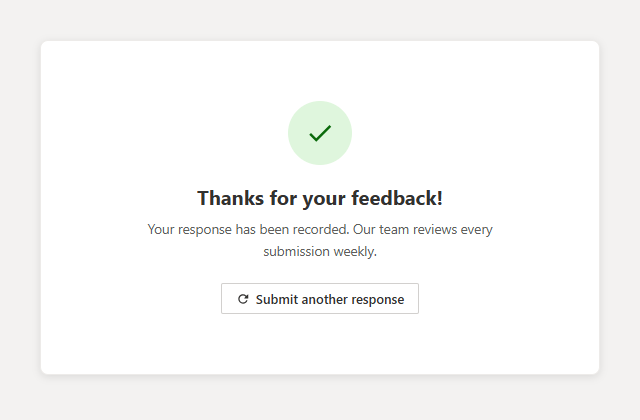
Step 7 — confirmation after sign-off. - 8
Review results in the dashboard, segment the summary by site, and export CSV for the compliance pack.
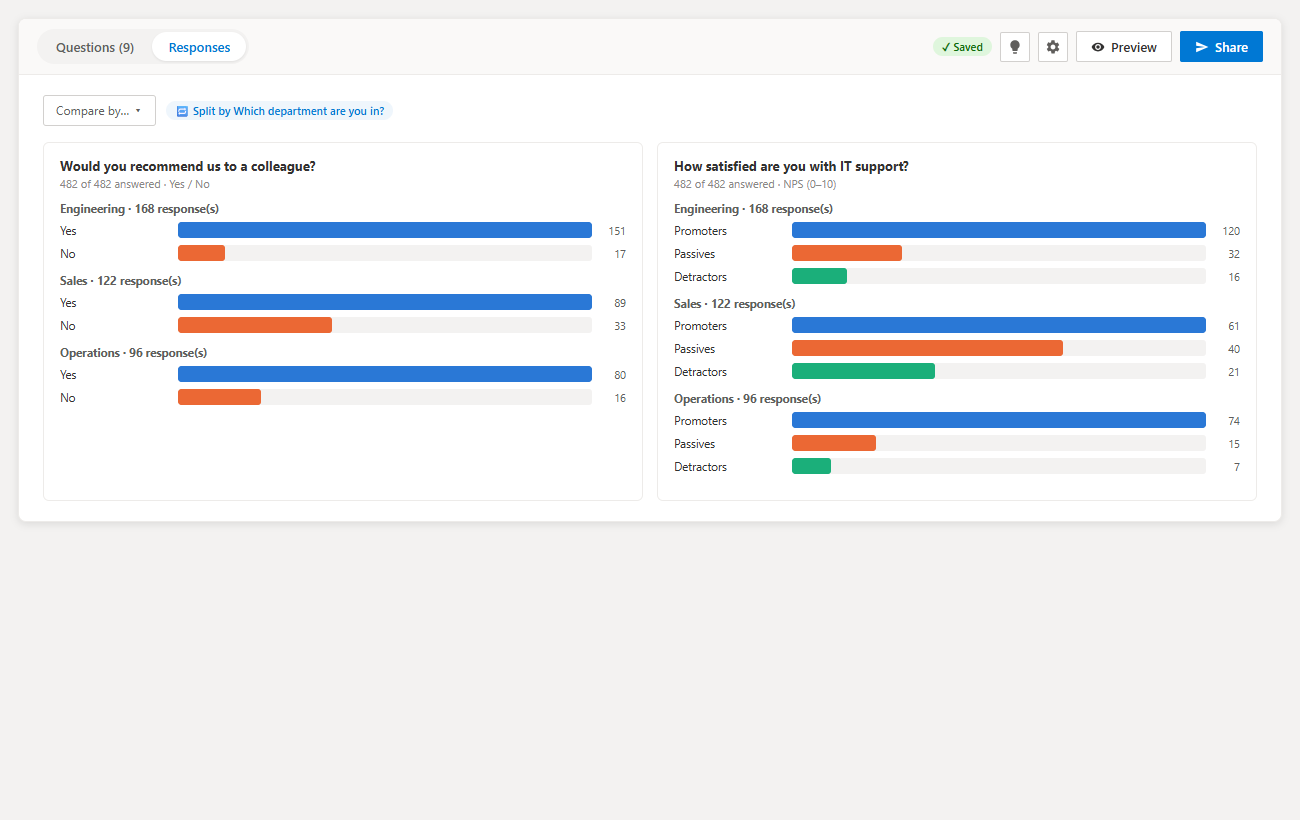
Step 8 — segment the summary by site to compare results.
Frequently asked questions
- Does the signature field produce a legally binding signature?
- It captures a drawn signature image alongside the submitting user's identity and timestamp. Whether that meets your legal bar is a question for your compliance team — it is not a qualified digital signature service.
- Will the checklist work on a phone?
- Yes. The form is responsive, and the wizard layout with a progress bar is designed for one-handed completion in the field.
- Where do the photographs go?
- File uploads are stored against the SharePoint list item, so they are covered by the same permissions, retention and backup as the inspection record itself.